


I am currently having a go at pumpernickel. Inspired by this documentation.
Getting hold of suitably milled coarse rye might be a problem for some. Our bakery is fortunate in having close ties with a restored windmill, Callington Mill. Two days ago I took over 150kg of Organic Rye Grain and worked with the miller to get the type of flour I had in mind. Note: 2kg bags of this flour are available here.
We worked the gap between stones so that almost every grain was cracked, with the occasional whole rye berry slipping through unmilled. I was very surprised and happy at the amount of fines that came through at the same setting (see close up). This meant that we did not need to mill fines in a seperate batch (I wanted a mix of fines and larger grain in the final dough).
I don't know how this incredible spread of fine to not-milled-at-all could be achieved with roller milling!
Recipe: (makes 12 x 950 gram loaves)
(units in grams)
- 5000 Pumpernickel Rye Flour
- 5000 Water
- 1000 Starter (0500 Rye Flour / 0500 Water)
- 0080 Wet Salt = 1.5% of Total Flour Weight (Try 1% - 55g -, if you are using dry, refined salt)
- (also obtain old pumpernickel, soaked, if available)
The above recipe has a total of 5500g rye, with 500g of this being obtained from 1000g of starter (at 100% hydration)
Hydration is 100% across this recipe. In other words there is 5500ml of water in the finished dough, with 500ml being obtained from the starter.
Method:
(units in grams)
- Mix 5000 Pumpernickel Rye Flour with 5000 water until evenly wet (use clean utensils to avoid yeast / sourdough innoculation)
- Rest for 24 - 48 hours at moderate to low temperature (14C to 4C)
- Add 1000 starter
- Add 0055 - 0080 salt (see recipe note above)
- Mix for 5 minutes by very slow machine or by hand
- Divide and shape into tins immediately
- Proof in tins for 3 - 6 hours at 22C - 8C
- Place tins in a tray that can contain about 2cm of water
- Elevate the tins above the water using chocks made from kitchen utensils, then add water
- Place a lid over the water tray and the tins
- Bake in 120C oven, descending to 100C over 16 - 20 hours
- Replenish water as required (probably about 3 times if water is topped to 2cm each time)
- Remove from oven when baked (minimum 16 hours , then go by the smell and, eventually, experience)
- Cool on wire for at least 4 hours
- Package into paper bag to mature for 3 days (you can eat before then, but cutting is a bit messy)
- Eat
- Soak leftover pumpernickel for use in next bread...this will improve texture and eliminates waste

Pumpernickel rye dough
 Pumpernickel dough in tins

Preparing water pans to steam pumpernickel After 4 hours baking
 After 6 hours baking
 After 19 hours baking
Pumpernickel removed from baking tin
 Cross section while still hot

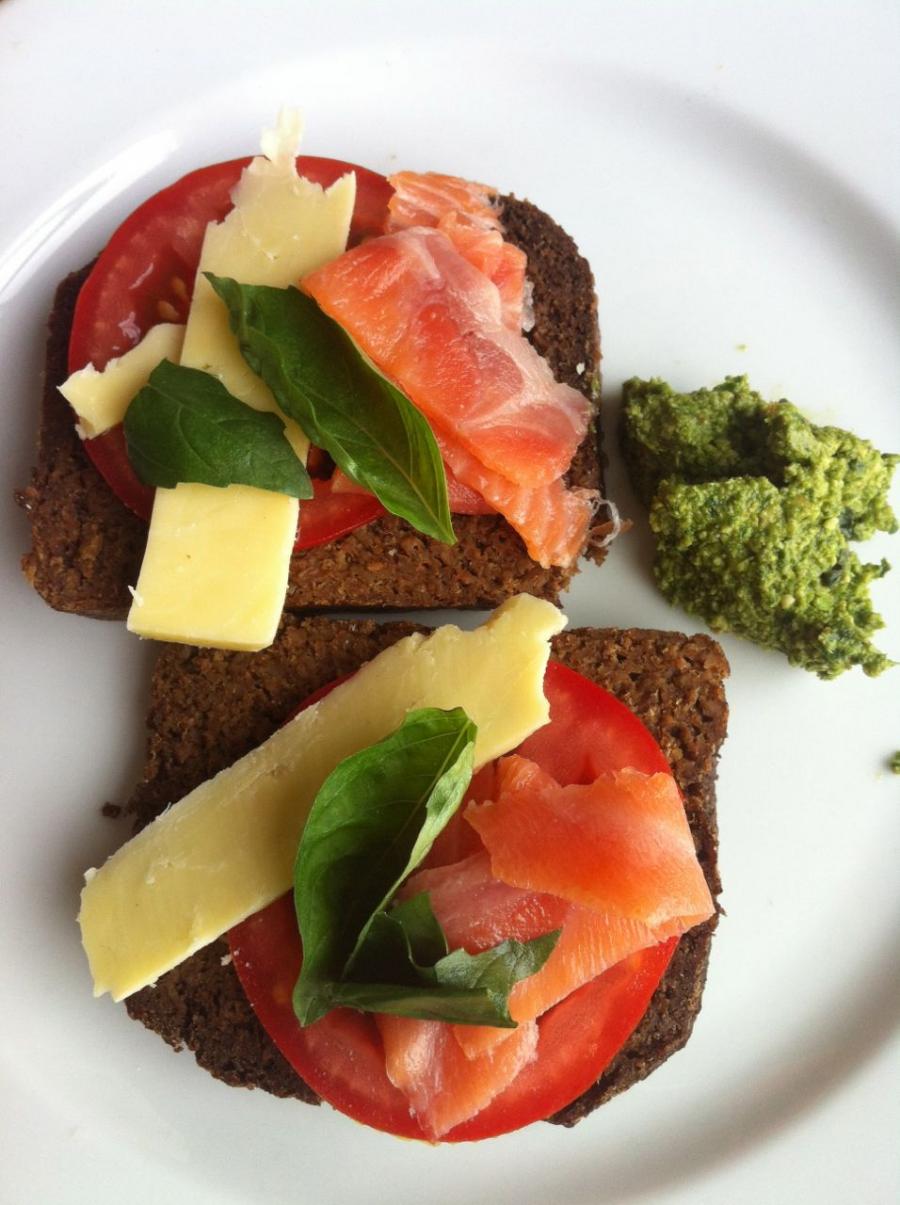
Tomato, cheese, smoked salmon and basil on pumpernickel
Replies
This looks fabulous graham, good and hearty! The mixture of grain texture is stunning. I can only imagine how it tastes and smells! Rich, earthy . . . . . I just love rye.
Were you happy with the result?
Ok, so all the cooking stages photos weren't there when I commented last night! WOW! So 19 hours baking!? How hot was the oven and why so long? The end result looks fabulous.
K.
Hi KC,
I read another article about pumpernickel somewhere and the long low temp baking apparently gives the reaction time to penetrate throughout the loaf to give the uniform brown colour rather than being just concentrated on the surface of the crust..
As I recall, the temperatures talked about started at about 180C and progressively reduced to 90C over ten hours followed by overnight in the oven after it was turned off.
I've been planning to try this for myself and even bought the makings but pressure of other things has intervened but it is still on my to do list.
Keep on bakin'
Farinam
The smell was amazing, I am definitely making more of this. Will find time to edit and put in all the details of this process tomorrow. There's no doubt that having the right textured coarse flour made a big difference.
Temperature started at around 120C and fell to 100C during 19 hour bake. I put too much water in the lower pans, forgetting about the tiny holes in the tins suspended above....which took on some water. If you look at the cross section photo you can see the effect of more steam/moisture penetrating from the bottom of the loaf. Easy to correct next time.
BTW the salt amount (1.5% wet salt) appears to be fine. 1% dry refined salt would be close too I think.
Tonight we are going to an event at Cascade Brewery in Hobart, a launch of their 'New Harvest' beer. Our bakery is providing a special loaf made with malted (brewers) barley, which we have been using for a year now. I'll also take along the pumpernickel for everyone to taste.
Graham
The method I used is now included in post. I think the hardest part about doing this at home would be preparing a steam bath and getting the oven right. We happened to have suitable steam pans which we bought at an auction years ago, no even knowing what they were.
Home bakers could use small upturned bowls or cups, anything to elevate their tins above water in a tray, and then find a lid of sorts, or if desperate use cooking foil (loosly fastened to steam tray, or with a few breathing holes).
The low oven can be achieved in home setups. Heat the oven up to 150C first and then turn down and allow the temperature to settle at 120C, then turn down to 100C half way through the bake. There are obvious advantages of retained heat ovens, such as wood fired, for this type of bread.
Graham
hmmmmm. . . . . I hadn't noticed the wee chocks underneath the tins. So at home, if I bought coarse rye flour and slightly ground some rolled rye and added it in, do you think this would approximate it?
Bit nervous about sleeping in the house with the oven on all night! But dying to try it!
K.
Happiness is making bread!
These steam trays have a built in ledge that just happenend to be the right size to support our tins above the water.
I think the easiest way to approximate this rye flour at home would be to use a food processer (blender) to chop up rye grain. Stop the machine while there are still some full grains remaining. There may be enough fines in this mix to make the 'glue' part of the dough, or you may need to add just a little bit of coarse flour (the chopped / whole grain should dominate the mix to give nice texture in my - very limited - experience).
The other way would be to keep the food processor on to make a very course flour, largely composed of cracked grains, then add in a proportion of whole grains. I am still experimenting with the ratio of whole/cracked/flour with my own bread (baking a 2nd batch in 2 days, when the oven is cool again).
It just occured to me that pumpernickel might be the ideal bread to bake in a solar oven! They are cool temperature and genrating a steamy even would be easy...no need for a lid as they are well sealed. Shade cloth or trees could be used to moderate temperature. One full day in Summer should be enough. Would also be interesting to try a 2 day bake in Winter.
2nd batch of pumpernickel have just gone into the oven. You can watch the oven fall (hopefully) about 20C during the 16 - 20 hour bake on the new temperature graph here.
I have been baking Pumpernickel for some weeks now, so I was pleased to come across your postings. I was baking at quite a high temperature for only and hour or so. After reading of your experiences I tried the long bake and I am pleased to say the loaves are moist and not hard as before.
I only have Pullman tins and so I just place them on a baking tray into which water is poured and top it up about three times over the bake.
I think we must be doing something right as it gets sold within a few hours. I am having more tins made to increase production and to fill the oven for a more cost effective bake.
Fortunately I have a Austrian stone mill and can produce my own flours from the Kialla Rye we import from Australia. So adjusting the gap between the stones to approx the size of the grain gives the right grind.
Hi Martin
That's good that the long bake is working for you. It takes time for the Maillard reaction to occur through the entire loaf. Can you post any pics?
Will do. I supply a shop with whole loaves, which they then cut into 2 and sell. I will take the camera with us and ask them if I can take a picture after they have cut it. My original samples have all gone.
Good news. Today I received my 10 new pullman tins. They are hand made so it takes a few weeks from order. tomorrow I can do a 20 tin batch.
I eventually obtained some pictures http://www.whitebrickoven.com/images/pumpernickel.jpg
As you can see we cover with Pumpkin Seeds, the tins are floured with semolina so that is what you see on the sides of the loaves. With this batch I had some trouble with one of my oven burners and had to stop at 13 hours.
They look great! What a good idea using pumpkin seeds on pumpernickel. That would definately improve the texture of the top crust on our loaves.
I have been looking for a slicer, like a cold meat slicer, that works well on pumpernickel. Tried one 2nd-hand unit...it sliced well but then the slices got caught and tore in the machine. Have to keep looking.
Thank goodness I am saved that job. The shop buys the whole loaf from me. They then chill overnight and cut them in two and sell the two halves separately. Like you I was thinking of getting a meat slicer, but was saved the trouble by the above arrangement. Preparing for a new batch tomorrow.
I gonna tray this recipe soon is a very good way to use the residual temperature in the oven every day,
thanks Graham!
Phew!
I've been wanting to try the pumpernickel style of baking my rye bread for some time now. I normally use a recipe that I got from my mom which is based on sourdough and rye, and nothing else. Lately I've added some sunflower seeds to the dough as I like the "fatty" juicy feeling they bring to the finished bread (even though every time I mix a dough theres an oldschool grain lover in the back of my head screaming "get rid of the bird seeds!)...
Anyways! Even though theres birdseeds in this batch of dough as well, I am trying a long term baking experiment. What I've done is put my dough in tins, and wrap the tins sealed with tinfoil. The hope is that a sufficient amount of moisture will be contained within the tins to keep the bread from going hard on me. As I am baking overnight, the "fill a tray with water" gig simply wont work for me, its sure to boil dry. Just a tip to others if they wanna give this a whirl but run into the same dilemma. Of course I don't know how well it has worked out yet, but I will try to post a few pictures in a day or two once the buggers had time to cool off.
I have a couple of technical questions.
You mention 100% hydration level. Do you ever have trouble that your bread ends up too sticky? Maybe they would be easier to cut with 95% or so hydration level. I am asking because I will be cutting my bread manually with a good old bread knife, and I do not care to clean it every time I want a slice of bread.
How do you store bread, in general? I am currently forced into putting both my rye and wheat sourdough breads into plastic bags, to keep the crust from going stone hard...
Have you considered adding some finely ground cumin and/or ground fennel seeds to your pumpernickel dough? I use it sometimes in my more heavy wheat breads and it gives the bread a completely brutal aroma and taste that I think would go really well with the caramel-like taste of pumpernickel.
I have wanted to try pumpernickel using buckwheat for a while. Graham you have spurred me into action. I worked from your recipe.
I started last Sunday, baked on Wednesday, and finally cut it today, Saturday.
Not quite as dark as I had hoped, and just a little dry. But that is OK, I was concerned about it being too wet, so next time I'll be more relaxed about the dough!
Thinly sliced and with the right accompaniment it made a wonderful lunch today!
(I don't have a mill, so I cracked the buckwheat seeds in a domestic food processor. I'll add a little more extra flour next time. The starter is my own buckwhear starter - made in the usual way - flour and water, etc)